Today, our topic is another universal concern “How to take a Screenshot” on different devices like MAC, iPad, PC, Laptops, Xperia, Samsung, Motorola, LG, Nokia, and all these other gadgets and platforms. So, if you have come here in order to find out the answer to “How to take screenshot” on my phone or xyz platform, we got you.
Take a deep breath, relax, and begin reading…
How to take a screenshot on different devices/platforms/gadgets?
Have you ever wondered how to take a screenshot on your smartphone, or laptop, or MAC, or any other gadget? Or have you ever been in a situation where your boss asked you to send a screenshot of any query/revision/error and you were screwed as you didn’t know how to simply send them the screenshot? Or maybe you just saw a hilarious meme on Facebook and were unable to tag your friend for any reason and thought to send the meme instead, but when you tried to take the screenshot you realize you have been ignorant of how to use this feature on your phone for so long. Well, whatever your situation is, here is a solution to your problem. Learn how to take a screenshot and start screenshotting everything or anything you want.
How to take a screenshot on desktop/laptop using Windows operating system
Follow these simple steps to take a screenshot on desktop or laptop using Windows OS,
- Locate and click the PrntScrn(Print Screen) button on the keyboard
- Open Paint to save the screenshot by pressing Ctrl(Control)+V and then Ctrl(Control)+S to save the file
- Alternatively, click the Edit menu on the top left of the screen and choose paste then click on save as and save the file
- Or you can even directly send the screenshot through Facebook, Messenger, Email by pressing Ctrl(Control) key+V and hitting send, obviously.
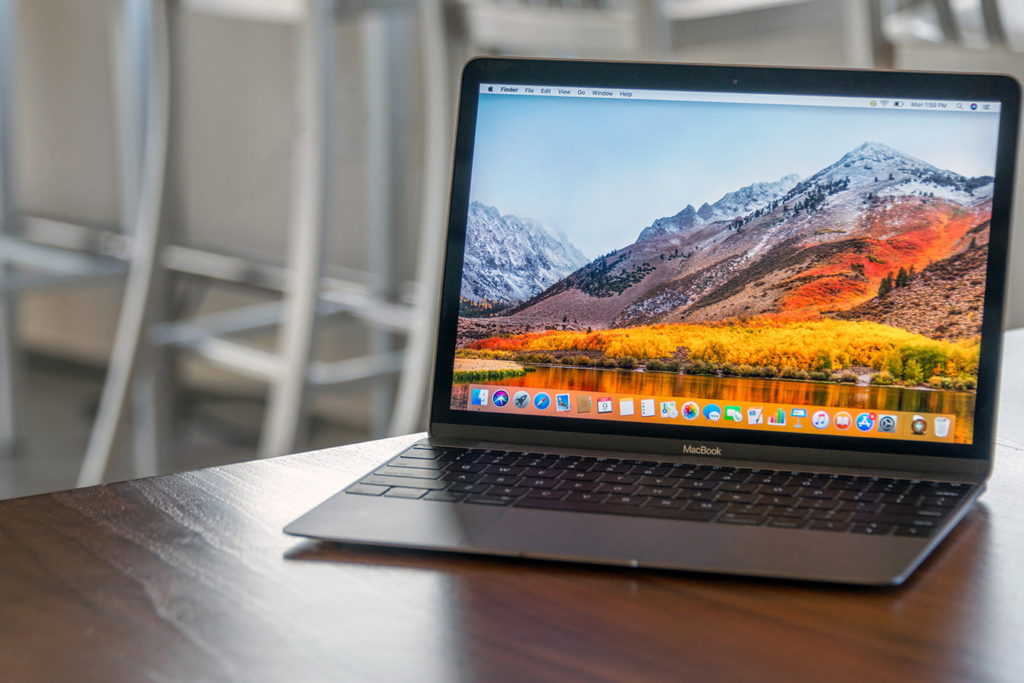
How to take a screenshot on MAC
Read below the easy way to take a screenshot on MAC device,
- Click on COMMAND+ SHIFT + 3 buttons all together
- In this way, the screenshot is directly saved on the desktop and you don’t have to bother anymore
- Additionally, if you want to copy a portion of the screen to capture, use the COMMAND+CONTROL + SHIFT+ 3+ 4 key combinations and you are done.
How to take a screenshot on iPhone/iPad
Here are the steps to capture a screenshot on iPhone/iPad easily,
- You can take a screenshot on iPhone only by pressing the menu button along with the power or the lock button.
- You will find this screenshot automatically saved in the camera roll.
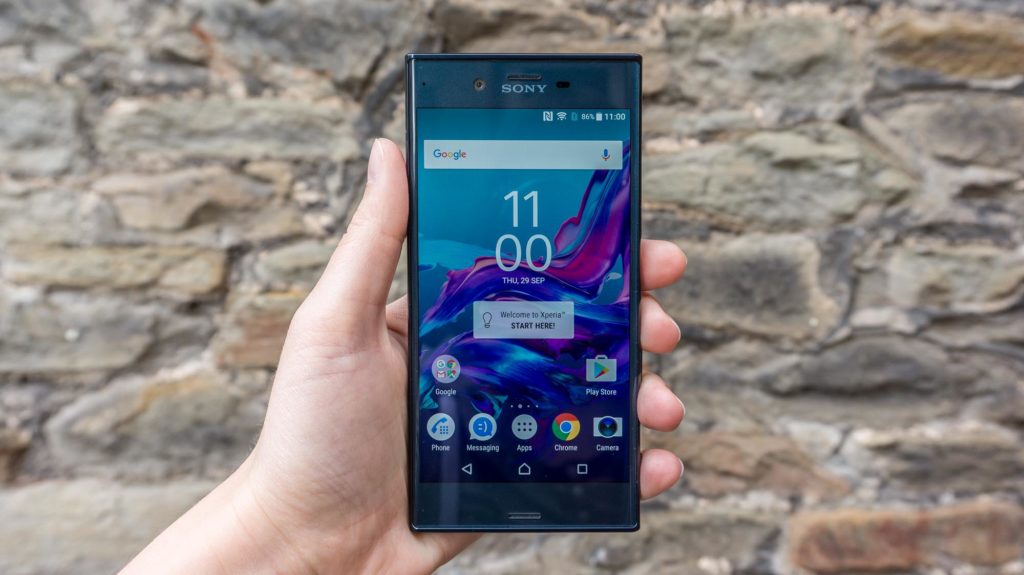
How to take a screenshot on Xperia smartphones
Taking a screenshot on Xperia is anything but difficult. Here is what you need to do to capture a screenshot using Xperia phones,
- Press the power button
- A menu will pop-up on your screen
- Now, tap on “Take Screenshot” and you are done
- You will find the screenshot automatically saved in the camera roll.
How to take a screenshot on Samsung smartphones
Here is the quickest and the easiest way to take a screenshot on Samsung phones,
- Press the power button and the menu button together and you are done
- You will find the screenshot automatically saved in the camera roll.
How to take a screenshot on LG/Motorola/Oppo Smartphones
If you want to take a screenshot on LG/Motorola/Oppo phones then follow these simple steps,
- Press and hold the Power button along with the Volume down button simultaneously
- Keep holding the buttons until the screen appears to flash
- You will find the screenshot automatically saved in the camera roll.
How to take a screenshot on Nokia smartphones
There is only one difference in taking a screenshot on Nokia phones as compared to Motorola, Oppo, or Lg and you can read it below,
- You will have to press and hold the Power button along with the Volume up button instead of Volume down and the rest is same
- You will find the screenshot automatically saved in the camera roll.
Taking a screenshot is pretty easy and does not take many efforts. But if your phone is new or you have never used a Macintosh before, it might cause you to panic. However, our suggestion is, don’t panic, take a screenshot!

