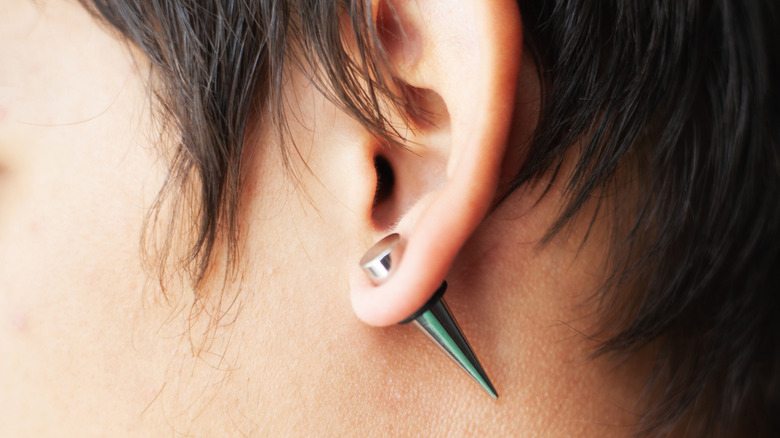
What are Ear Gauges?
Ear gauges are tools used to gradually stretch holes that are pierced in the earlobes. As you continuously stretch your earlobes’ holes, the sizes of such holes can gradually become bigger in size. It takes a certain period of time, effort, and patience to successfully stretch your ear holes.
Ear gauges or tapers are the long and spiky tools that you apply to your piercings to begin stretching the skin. They are available in different sizes, but, vary in the degree of how you would like to stretch out the piercing of your earlobes.
The majority of the tapers are made of acrylic or steel. It’s a personal choice as to which kind of taper you would like to use. Steel gauges are easier to get through the earlobes during piercing. So, you may want to prioritize using them over acrylic gauges.
Not doing ear stretching appropriately is the cause for damages and scars that may remain permanently. Additionally, not using gauges the right way may lead to the risk of contracting an infection.
A Step-by-Step Guide
Wait for the Complete Healing of Your Ear Piercing
You’ll likely infect your ears if you haven’t yet if you don’t wait for their piercing to heal before you stretch them. You’ll discover that being patient does so much in having your ears remain in good health and condition.
Clean Your Ears
Use pure and unscented soap to wash your hands and ears before you use ear gauges for stretching. Massage your ears as you wash them to enable the ear tissue to loosen up in some means.
Lubricate the Gauges
Apply a tiny amount of lubricating oil or cream on the taper, your ears, and the new ear gauges. Wash the extra amount of oil or cream from your hands so you can have a strong grip on the ear gauges while using them for stretching.
Push to Stretch
If your earlobes’ size is sufficient to be stretched, the ear gauges will have no problem going through them. However, if there’s a substantial amount of pain, force, or blood, your earlobes are not good to be stretched as of the moment. In this case, not being ready to stretch your ears calls for you to let them heal for a few weeks to come, prior to attempting to stretch again.
Insert the small endpoint of the gauges to your ear from the front side. Tenderly hold your ear lobe with one hand, while stably pushing the gauges using the other hand. Don’t insert the ear gauges completely, though. Stop inserting through the gauges when the large-sized end of the gauges is equal to the front part of your ear. By doing this, you can utilize the gauges to be of guidance to the plug when you’re piercing your earlobes.
Make a Transfer to Plugs
Hold your ear and gauges together using one hand, and use the other hand to parallel the plug’s non-flared end with the gauges’ end. Once they are paralleled, the plug edges its way out of the gauges, out of your ear, and replaces the piercing.
Let Your Ears Heal
Allow your ears to heal for four to eight weeks. Stretching your ears for the second time prior to four weeks-time that pass will boost the chances of avoiding a tissue explosion. Waiting for a longer time before stretching your ears again is always good, though. The outer body heals before its inner parts. Having said this, the piercing’s skin, thus, shall appear healed. However, even then, the internal parts of the tissue are still in the healing process.


